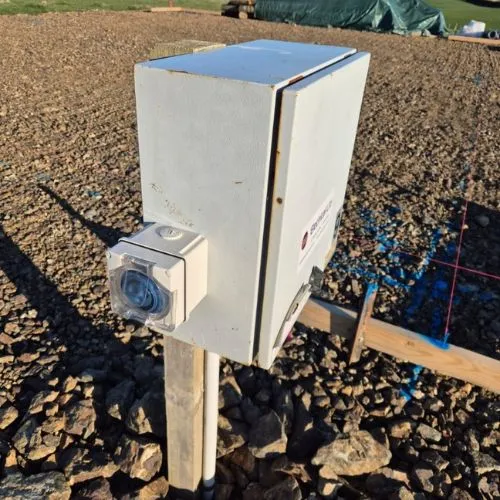
How to Get a Builder's Pole Connected: Costs & Process
Starting a build on bare land is one of the most exciting — and humbling — things you can do. There's nothing quite like standing in an empty paddock knowing that everything you see is going to become your home. But before a single wall goes up or a foundation gets poured, there's a long list of practical steps to work through. One of the biggest early milestones on our mortgage-free build in Southland, New Zealand, was getting mains power connected to the site.
It sounds simple enough. You need power, you call someone, they connect it. But like most things on a bare land build, there are more moving parts than you'd expect. I want to walk you through exactly how we did it, what it cost, and what we'd do the same — or differently — next time.
Why You Need Power Before You Build
On a bare land section with no existing structures, you can't just run an extension cord from a neighbor's shed. Contractors need power for tools. If you're living on site in a caravan or tiny home during the build — which we are — you need power for daily living. And many builders won't even start work without a proper power supply in place.
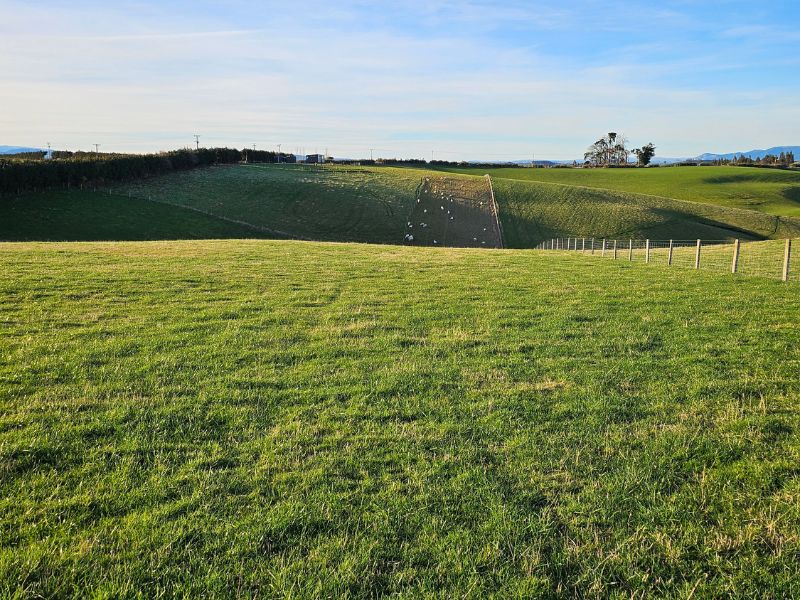
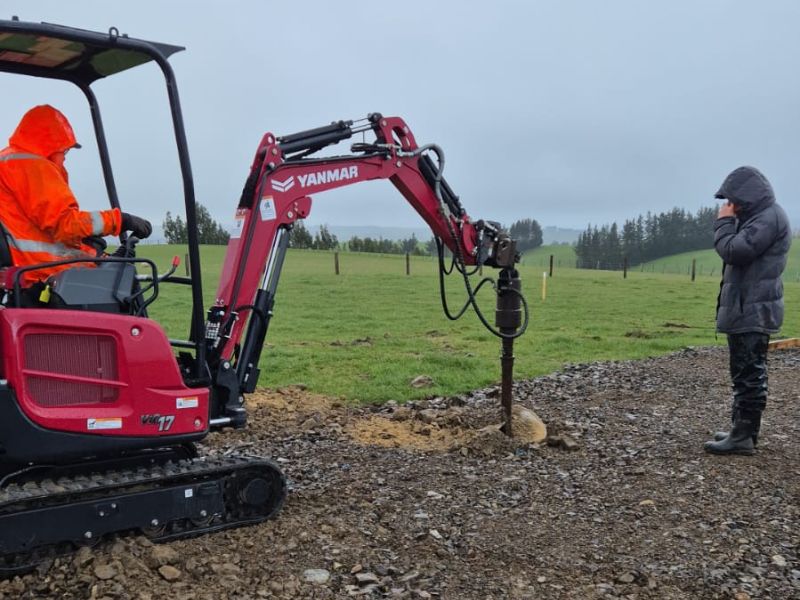
For us, getting the builder's pole live was one of the very first things we tackled, right alongside shaping the driveway and shed pad with the digger. Timing it this way made sense because the digger was already on site opening up ground. We had the trench dug at the same time, running the underground cable from the road to the builder's pole. Combining that work saved us a separate mobilization cost for the digger, which is the kind of small efficiency that adds up when you're building mortgage-free and watching every dollar.
Step One: Getting Your RAPID Number from Council
Before any electrical work can begin on a new site in New Zealand, you need a RAPID number. This is essentially a property identifier that the council assigns to your land so that emergency services can locate you. It's also required before a network connection can be arranged.
We applied for ours through the local council and the process took about two weeks. It's not complicated — mostly paperwork and waiting — but it's one of those things you want to kick off as early as possible because you can't move forward without it. If you're planning a bare land build in New Zealand, put the RAPID number application at the very top of your list, even before you think you need it.
Step Two: Working with Your Electrician and PowerNet
Once we had our RAPID number sorted, our electrician took the lead on the PowerNet side of things. PowerNet is the lines company that manages the electricity network in Southland and Otago, and they're the ones who arrange the physical connection from the grid to your property.
Our electrician handled the application for our ICP — that's the Installation Control Point, which is the unique identifier for our connection point on the network. Having a good electrician who knows the local lines company and understands the process made this stage much smoother. If you're going into a bare land build, I'd strongly recommend finding an electrician with new-build experience early. They become a key part of your team.
One thing that worked in our favor was the location of the nearest transformer. We were fortunate to have one close by with spare capacity. This matters a lot for cost. When a transformer doesn't have spare capacity, the lines company may require an upgrade, and that network charge can climb significantly. In our case, the network charge came to just $146 NZD, which is about as low as it gets. If you're assessing bare land to buy, it's worth asking your electrician to look into transformer proximity and capacity before you commit — it can genuinely affect your connection costs by thousands of dollars. Alternatively call your network provider directly (in our case Powernet).
Step Three: Opening Your Power Account and Getting Livened
With the cable run underground and the builder's pole in place, the next step was opening a power account. We went with Genesis Energy on their new-build pricing, which is worth asking about if you're in a similar situation. Retailers sometimes offer specific pricing structures for new builds or temporary connections, so it pays to shop around and ask directly rather than just signing up for a standard plan.
After the account was open, our electrician came back to the site for the livening and inspection. This is the final check before power is officially switched on — making sure everything is wired correctly, safe, and compliant. From the time we started the process to the day we had live power on site was about three weeks. For a bare land build with no existing infrastructure, that's a pretty reasonable timeline, and a lot of it came down to having a responsive electrician and getting the RAPID number sorted without delays.
What We're Running and How It's Set Up
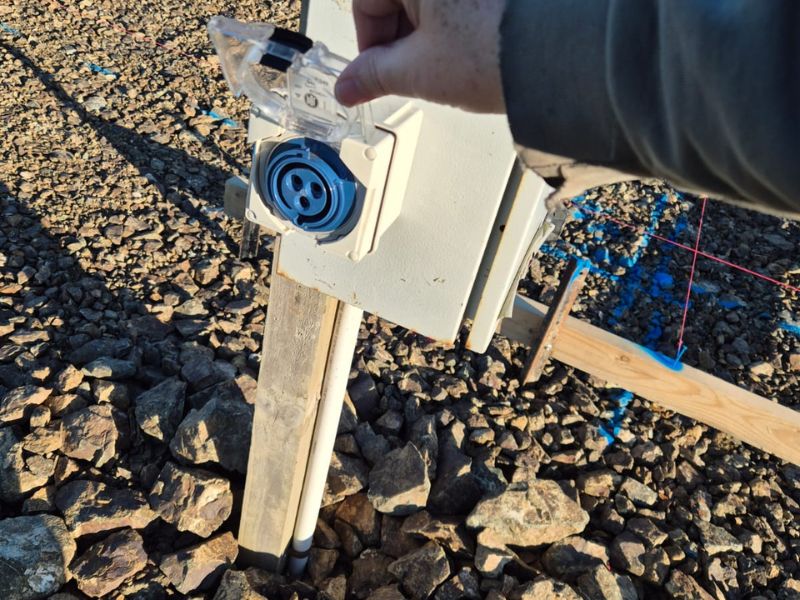
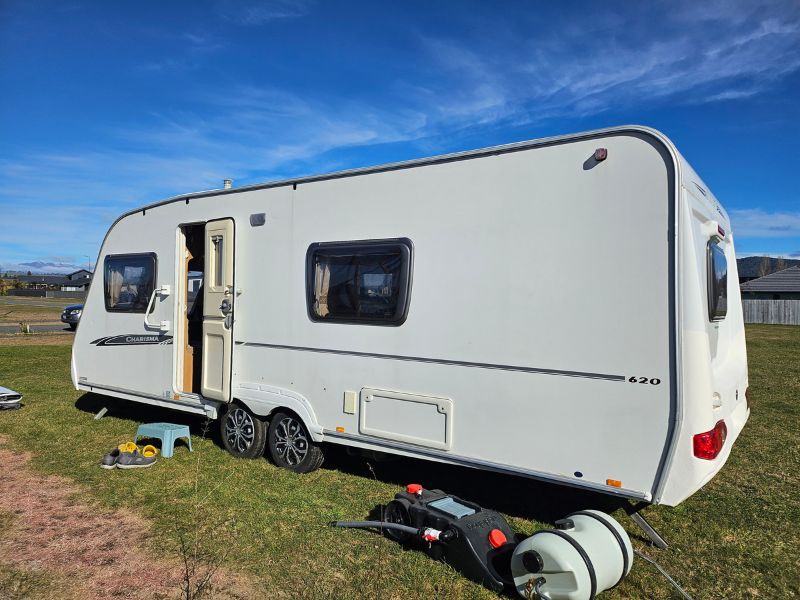
For now, the builder's pole is supplying us with 10 amps. That's enough for basic site use and for running essentials while we're in the early stages of the build. We'll be upgrading the whole unit to a 16-amp line with a caravan plug out to Trailer Swift — our caravan that's sitting about 40 metres away and serving as our home base during the build. That 40-metre run is the distance from the boundary to the builder's pole and needed to be factored into the cable costs, so if you're planning something similar, measure your distances carefully when getting quotes.
The builder's pole itself is a rental, which is standard practice in New Zealand. Once the house is built and a permanent meter is installed, the pole goes back to the lines company. It's a temporary solution designed exactly for this kind of situation — practical, functional, and not something you're stuck with long-term.
The Full Cost Breakdown
I know this is what a lot of people want to know, so here it is plainly. Our total shared cost for getting power connected to the bare land site came to $3,460 NZD. This was recorded as part of our costs to date before building started, and it covers the full process — from the underground cable trench and cable run, to the electrician's labour, the PowerNet network charge, the builder's pole rental setup, and the livening inspection.
Breaking it down roughly:
PowerNet network connection charge: $146 NZD (kept low thanks to nearby transformer capacity)
Electrician labour, materials, ICP application, and livening inspection: the bulk of the remaining cost
Underground cable and trench work: shared with the digger already on site for driveway and shed pad shaping
Every site will be different. Distance from the road, transformer capacity, local lines company fees, and electrician rates all play a role. But $3,460 NZD gives you a real-world ballpark for a straightforward bare land connection in rural New Zealand, and I hope it helps you plan your own budget more accurately. NB: This excludes excavation costs - I'll cover that in another post.
Lessons Worth Passing On
If I had to distill this whole experience into a few practical takeaways, here's what I'd tell someone starting from scratch on bare land:
Start the RAPID number application immediately
Two weeks sounds short, but when you're eager to get moving, it feels long. Apply for it the moment you know you're building.
Find an electrician who knows new builds
This isn't the job for someone who mostly does residential repairs. New build connections involve lines companies, ICPs, inspections, and compliance steps that a specialist will navigate much faster.
Check transformer proximity before you buy land
If you're still in the land-buying stage, ask an electrician (or power supplier for your region) to assess the nearest transformer. Spare capacity nearby can save you thousands.
Combine groundwork where you can
Having the digger open the cable trench while it was already on site for the driveway was a straightforward efficiency. Look for those overlaps in your build schedule.
Ask your power retailer about new-build pricing
It's a simple question that could save you money on your temporary connection. Don't assume the standard plan is your only option.
Getting power to bare land isn't glamorous. It doesn't look like much — a pole, some cable, a meter box. But the day the lights come on and you can plug in a kettle in the middle of what used to be an empty paddock, it feels like real progress. For us, it marked the beginning of this whole adventure becoming something tangible and real.
If you're on a similar journey — building mortgage-free, starting from bare land, or just trying to figure out how all these practical pieces fit together — I'd love for you to join The Homestead Letters community. We send out a real, physical letter by snail mail — practical tips, honest updates from the homestead, and encouragement for the road ahead. There's something grounding about getting a letter in your actual mailbox, and we'd be glad to have you on the list. You can sign up on our website, and we'll get your first letter in the post.